


Hidden bathroom door under tiles
Many people think that a hidden door in a bathroom is just a panel that is covered with tiles. In fact, if you do this without understanding the nuances, you will end up with an expensive and unreliable design, which after six months will begin to creak or peel off the tiles. The main mistake is to assume that any door frame and any tile will do. The reality is more complicated.
Why ?just embed? doesn't work
The first thing you encounter on site is a load mismatch. An ordinary interior door is not designed for humidity and temperature changes in the bathroom. Even if it is treated, it may lead to wear over time. Special preparation of the canvas and box is required. I have seen cases where customers saved money on this by using standard products, and then had to redo the entire portal due to swelling of the wood.
The second point is the foundation. Hidden installation requires a perfectly flat and rigid surface. Often contractors attach the box directly to the plasterboard partition, which is absolutely unacceptable. You need either a reinforced metal frame or attachment to a main wall. Without this, the door begins to “walk” and the tiles crack at the seams.
And thirdly, the tile itself. Not every tile is suitable for stickers on the door leaf. It must be thin and light enough, otherwise the hinges will not hold up. Plus, glue is important. The usual cement composition is not suitable here; elastic polyurethane-based adhesives are needed that compensate for microvibrations when opening.
Key components and practical solutions
The most important thing is the loops. They must be hidden, adjustable on three axes and designed for increased load. In a number of projects we used German fittings, for example, from Soss, but this greatly increases the cost of the design. Sometimes you can get by with high-quality screw-in hinges, but their installation requires pinpoint precision when marking.
Gaps are where most mistakes are made. Between the canvas and the box you need to leave at least 3-4 mm around the entire perimeter, taking into account the future layer of tiles and glue. If you do less, the door will rub off after facing. I always recommend collecting ?dry? structure, hang the canvas without tiles and check the progress, and only then begin facing work.
About finishing. The seams of the tiles on the wall and on the door must match perfectly. This is a task for an experienced tiler. Often you have to cut tiles locally, and here you can’t do without a good tile cutter. The biggest mistake is to try to do this with a grinder; chips along the edges will ruin the entire appearance of the hidden structure.
About the choice of material for the canvas
Solid wood is not the best choice for a bathroom, despite its beauty. Even expensive breeds can become deformed over time. I tend to use stable materials: for example, moisture-resistant high-density MDF or modern aluminum sandwich panel. They provide a flat surface under the tiles and do not react to moisture.
Here it is worth noting the approach of some manufacturers who specialize in complex solutions. For example, a companyAnhui Wantai Woodworking Co.,Ltd (https://www.anhuiwantai.ru), which supplies the international market with wooden doors that combine design and practicality. Their experience in working with wood can be useful when the project still requires a wooden base. They adhere to the principle of “building a business on precision,” which is critically important for hidden structures - from the stage of raw material selection to process control. But in the context of a bathroom, I would still ask them about the possibility of a special moisture-resistant treatment of the fabric that goes beyond the standard.
Sometimes a lightweight option is made for niches for a washing machine or communications - a frame made of aluminum profile, covered with moisture-resistant plasterboard, and then tiles. It is cheaper and faster, but the durability is, of course, lower than that of solid canvas.
Real case and lessons learned
I had a project in a new building where I needed to hide the door to the laundry room. The customer wanted a seamless wall. They did everything, it would seem, according to the rules: they strengthened the opening, used moisture-resistant MDF, and expensive hidden hinges. But they didn’t take into account one little thing - the shrinkage of the new building. After a few months, microcracks appeared in the grout in the corners of the door, at the very top. I had to remove several tiles, undo the seams and refill them with elastic grout.
Conclusion: in new houses you need to either give a temporary reserve before installation, or immediately put silicone sealant in the seams around the door to match the color of the grout. It compensates for micro movements. This is not according to the canons, but practice is sometimes more important than dogma.
Another point is access to the hinges for adjustment. If everything is tightly tiled, then it will be impossible to adjust a door that has sagged. Now I always leave a removable plug or magnetic panel at the end, on the side of the hinges, which disguises itself as a tile. This will save you in the future.
Final recommendations and things to remember
So, to summarize.Hidden bathroom door under tiles- this is not a product, but a process. It cannot be bought ready-made; it must be properly designed and assembled on site. The key to success is not so much materials as proper preparation of the opening and accurate calculation of loads.
Don't skimp on fittings and adhesives. A stingy man pays twice, especially when he has to knock down expensive tiles. And be sure to involve a specialist who has already dealt with similar tasks. A general tiler and carpenter may not understand all the risks.
Ultimately, such a door gives an invaluable feeling of the integrity of the space. All the trouble pays off when you see a perfect wall where no one can find the entrance. The main thing is to approach the matter without illusions, with a clear understanding of all technological stages and with a reserve of patience to eliminate those small surprises that are sure to arise.
Correspondingproducts
Related Products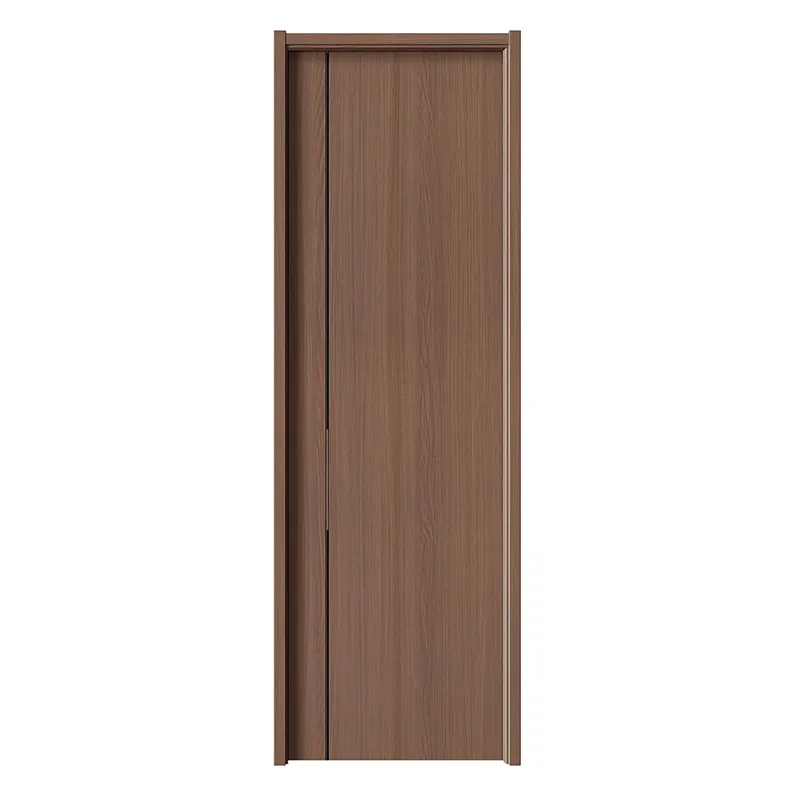


Best Sellingproducts
Best Selling Products-
 YST-1013 Door Cloud Walnut 1
 -
 YST-1007 Technotree Door 2
 -
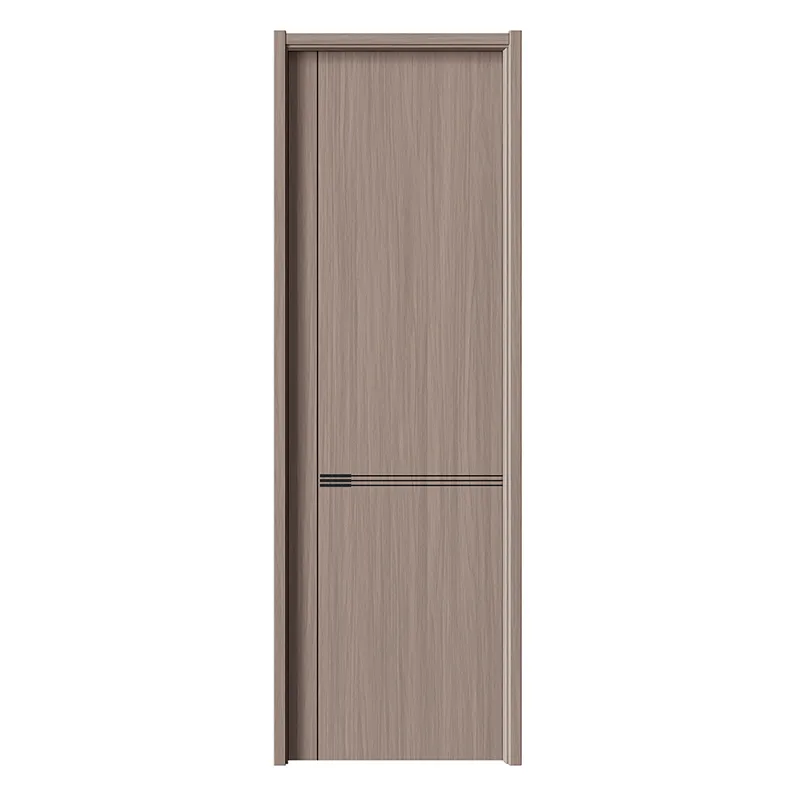
 YST-214 Door Technowood 2
 -
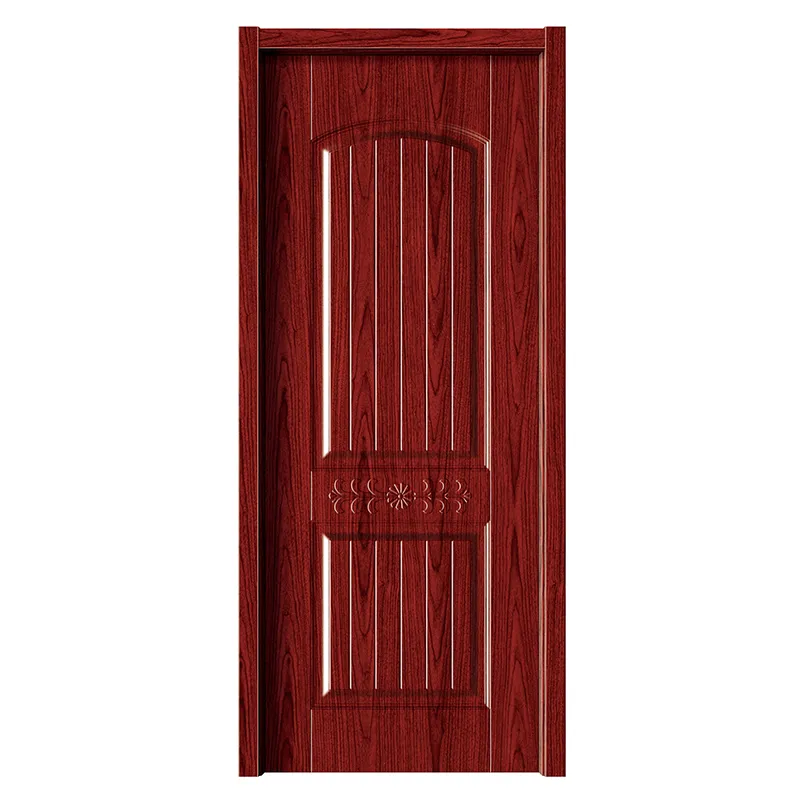
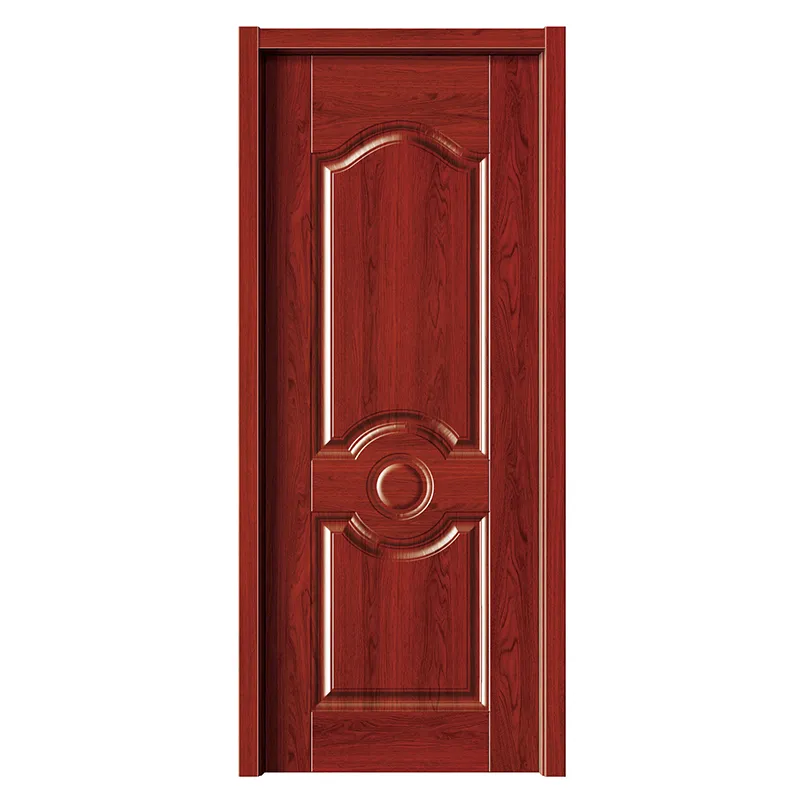 YST-208 Door Red Sandalwood
 -
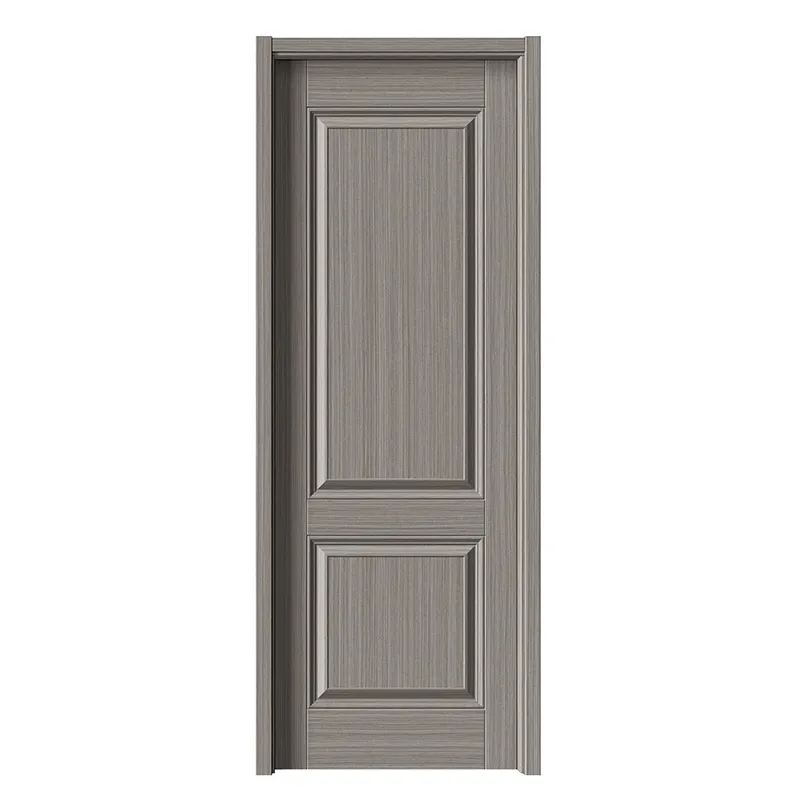
 YST-1003 Door Oak gray
 -
 YST-1005 Technotree Door 2
 -
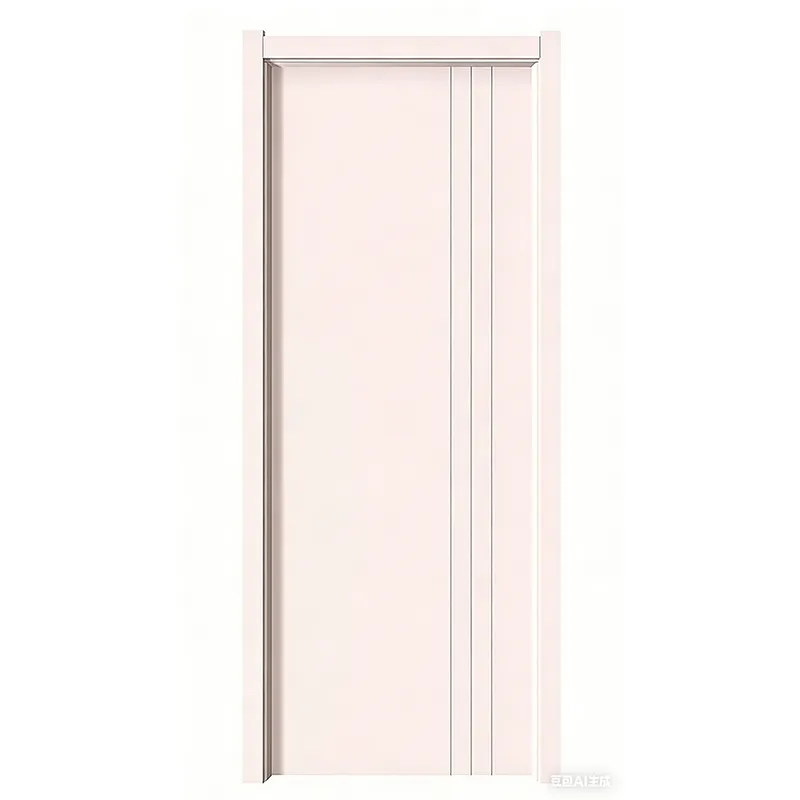
 YST-220 Door Warm white
 -
 YST-1041 Door Oak Shutter
 -
 YST-WPC3 Door
 -
 YST-207 Door Red team
 -
 YST-1010 Door Translucent light shadow 3
 -
 YST-224 Door Warm white with relief